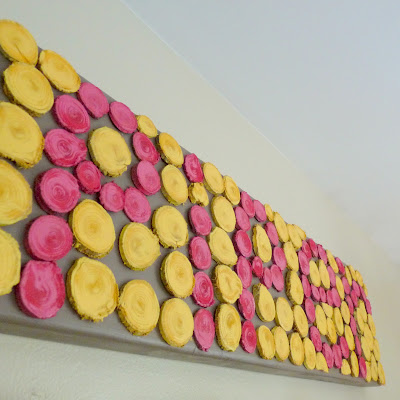
Charles and Ray Eames
 The most revolutionary furniture idea they conceived was that of molded plywood. This seemingly simple concept came about when Charles and Ray experimented with a homemade molding machine into which they fed scrap pieces of plywood that Charles had brought home from his set architect job at MGM. Anyone who has ever sat in comfort on a curved plywood chair probably has the Eames to thank for the chair.
 The first molded plywood product they produced was a leg splint. The U.S. Navy order 5000 of them for injured soldiers during World War II.
Perhaps the most recognizable Eames design is their 1956 Lounge Chair and Ottoman which was highly sought by corporate executives and became a classic of mid-century modernism.

They also designed childrens furniture like this plywood elephant.

To commemorate Charles birthday the United States Postal Service issue a series of postage stamps featuring Eames furniture designs.

Homemade band saw
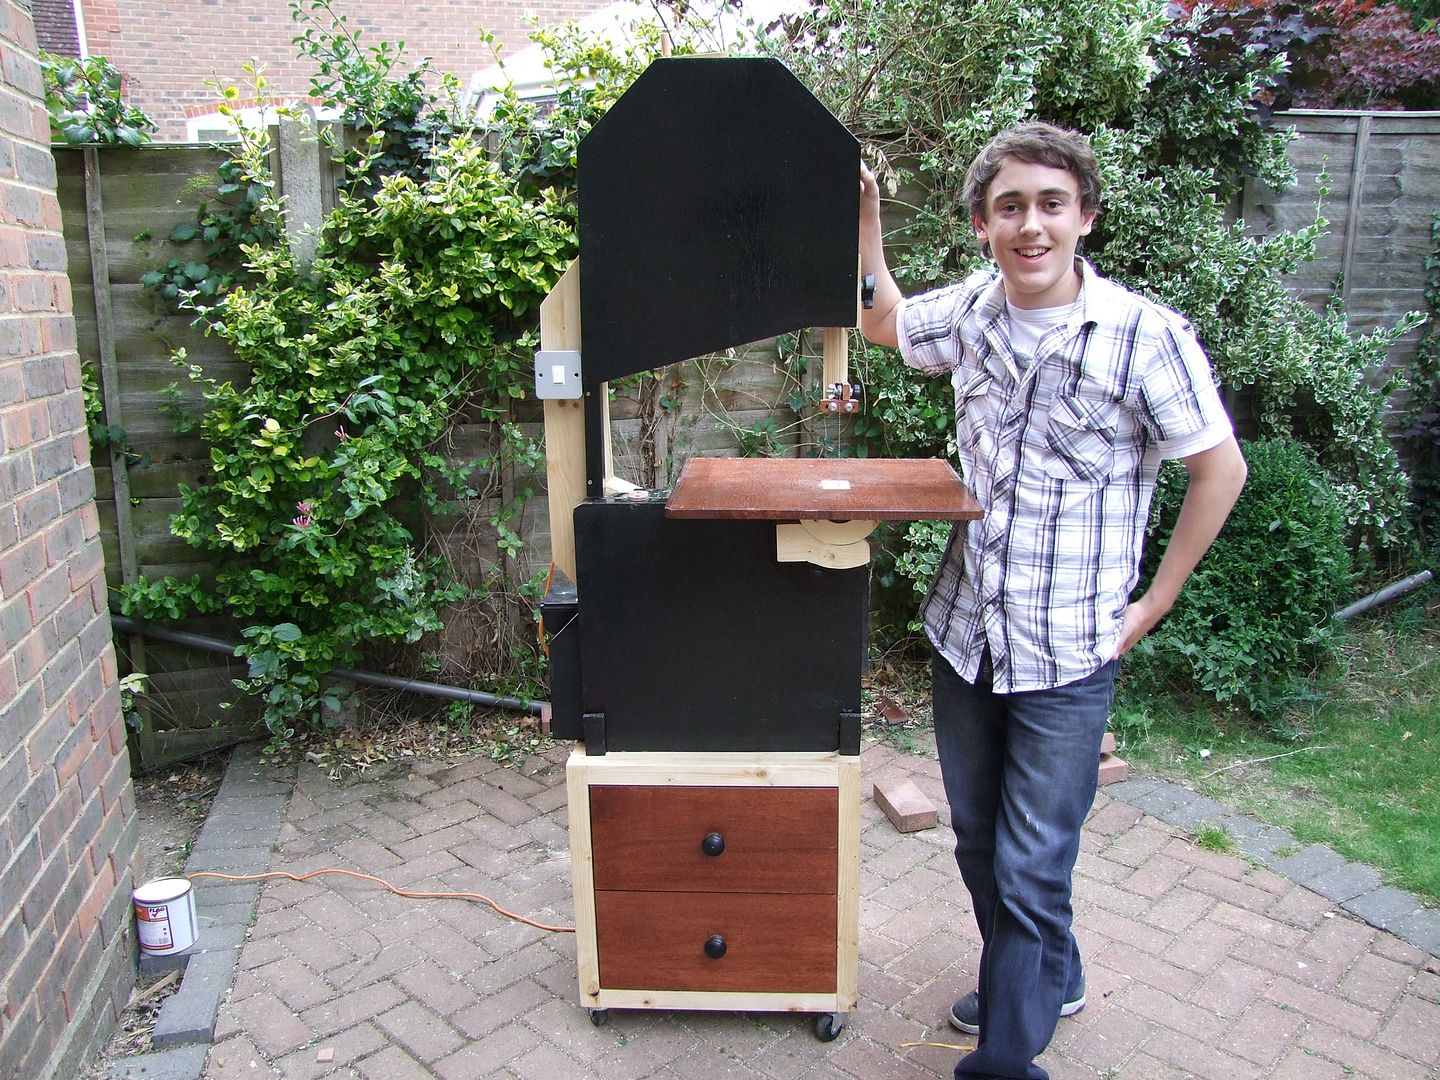

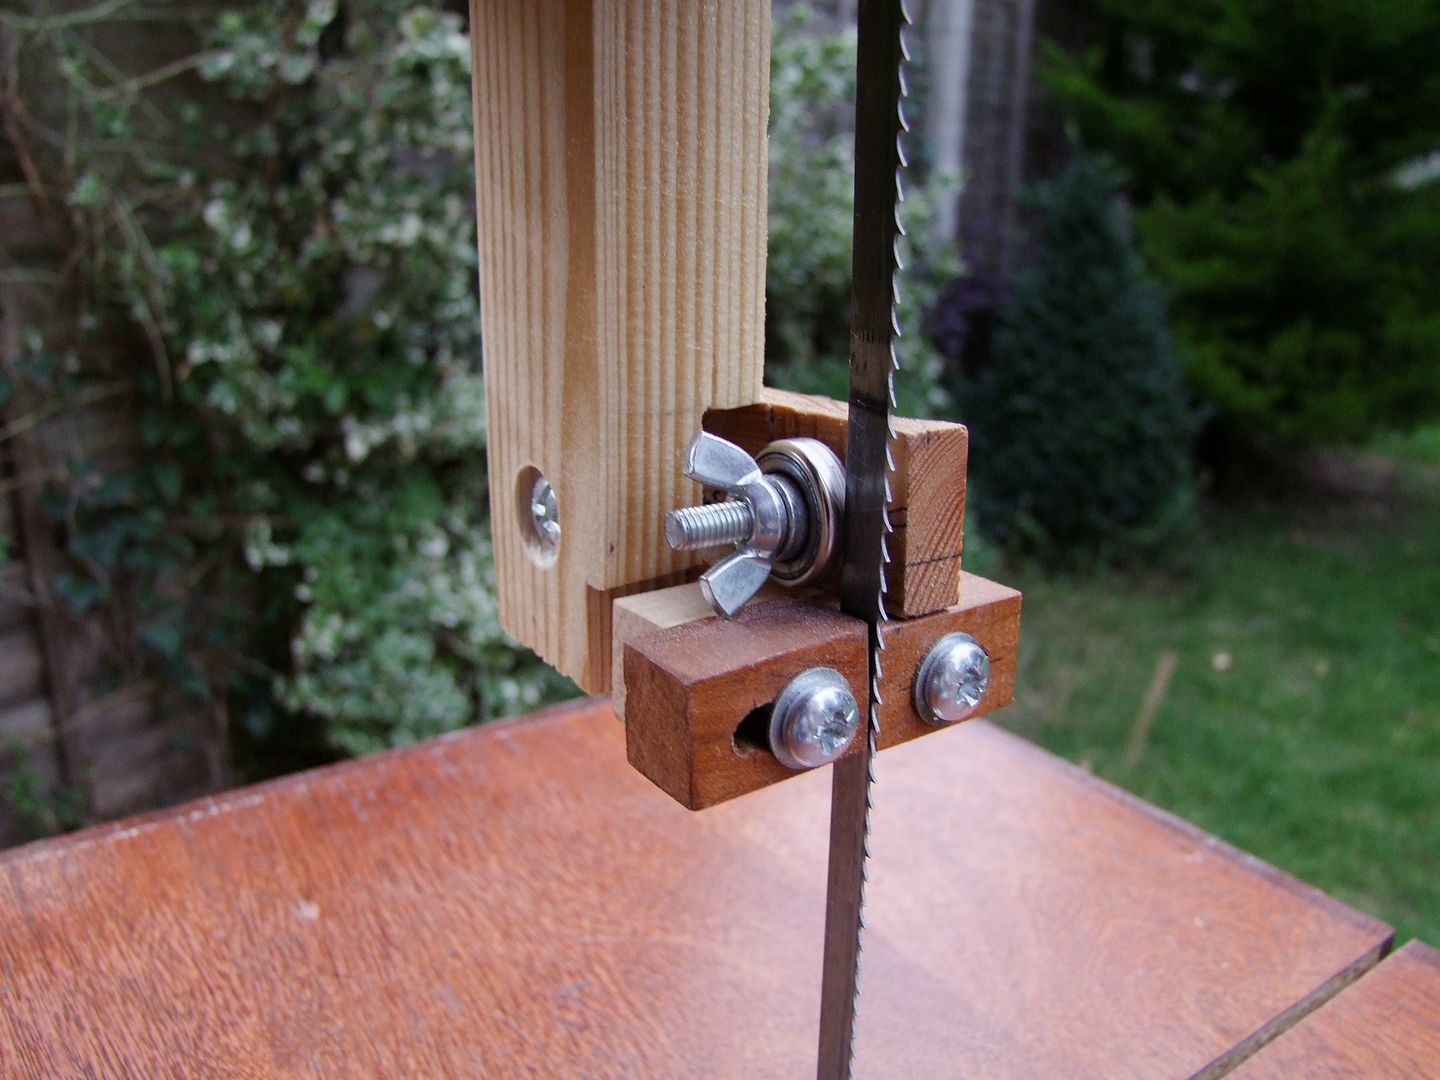
This is a woodworking blog Yup Wait what
[cliched cricket sounds]
Gophers and ants
What did I do? Well, I mowed the jungle that I call a lawn. Discovered several new gopher mounds. Rather than doing something with those mounds of dirt, I decided to just mow over them.
Naturally, the lawn mower objects to this practice and makes horrendous sounds while throwing clouds of dirt throughout the atmosphere. I looked at the biggest pile, or what remained of it, and noticed it was moving...or pulsating.
About 33 billion ants had determined that a gopher mound was a perfect place to raise a family and were now frantically darting every which way carrying little white bundles of baby ants. In a strange way, I really felt guilty. Ants are cool. Just as long as they stay outside. Once they march into my house and discover the cats food, I have no regrets using the most non-environmentally-friendly ant poison. I believe doing so builds up immunity.
We pay for dirt! Dirt! Its everywhere!

 |
| Strawberries! |
But the dirt levels in those planters was down about two feet from the top. Yep...the mysterious disappearing dirt. I understand that it can compact, but that doesnt account for this volume of lost dirt. It just simply vanished. I think dirt evaporates and rains back into places that sell it.
Trip to Colored Gravel.
"Colored Gravel". Thats the name of a place here in Novato that sells all sorts or rocks, dirt, and rock-and-dirt-related products. I had them dump two loads of topsoil into my truck: one cubic yard. That pretty much fills the bed of a full-size truck. Its daunting to look at and know that youll have to unload it.
Yeah, it was way more than we needed to fill the raised beds. We filled them to their brims and had to find places to put the remainder. I avoided the vegetable garden option. I have no doubt Ill need to repeat this process next spring for my tomatoes. Just where does the dirt go?!
Moving dirt sucks.
 |
| Look! Its...dirt! |
Got the planters filled. Marveled at (outdoor) ants. Spent no time in the shop. I almost completed my Halloween video though. Im still trying to figure out an ending. Video editing is hard, but its total weenie work compared to moving crap around.
****
Mere Minutes
I actually have a tip here. Not woodworking, though.
Ursula von Rydingsvard

Art 21 is a wonderful series by pbs, well worth getting from netflix. You can find more information on Ursula and images of her work at their site:
http://www.pbs.org/art21/artists/vonrydingsvard/index.html
Warren Platner


Warren Platner uses very simply designs and lines in his creations. His furniture is simple and can be liked by many because they go with any style and any taste. There are some details that he incorporates to give it just a little extra show, but overall he keeps his looks clean a
 nd never over the top.
He likes to combine wood works with metals, thick wires, and very this glass to make a bold presence. His style is very big, which allows one to use one of his products for many different things, but in all it makes the piece stand out with its size as well as its simplicity, but also the bolder accents.
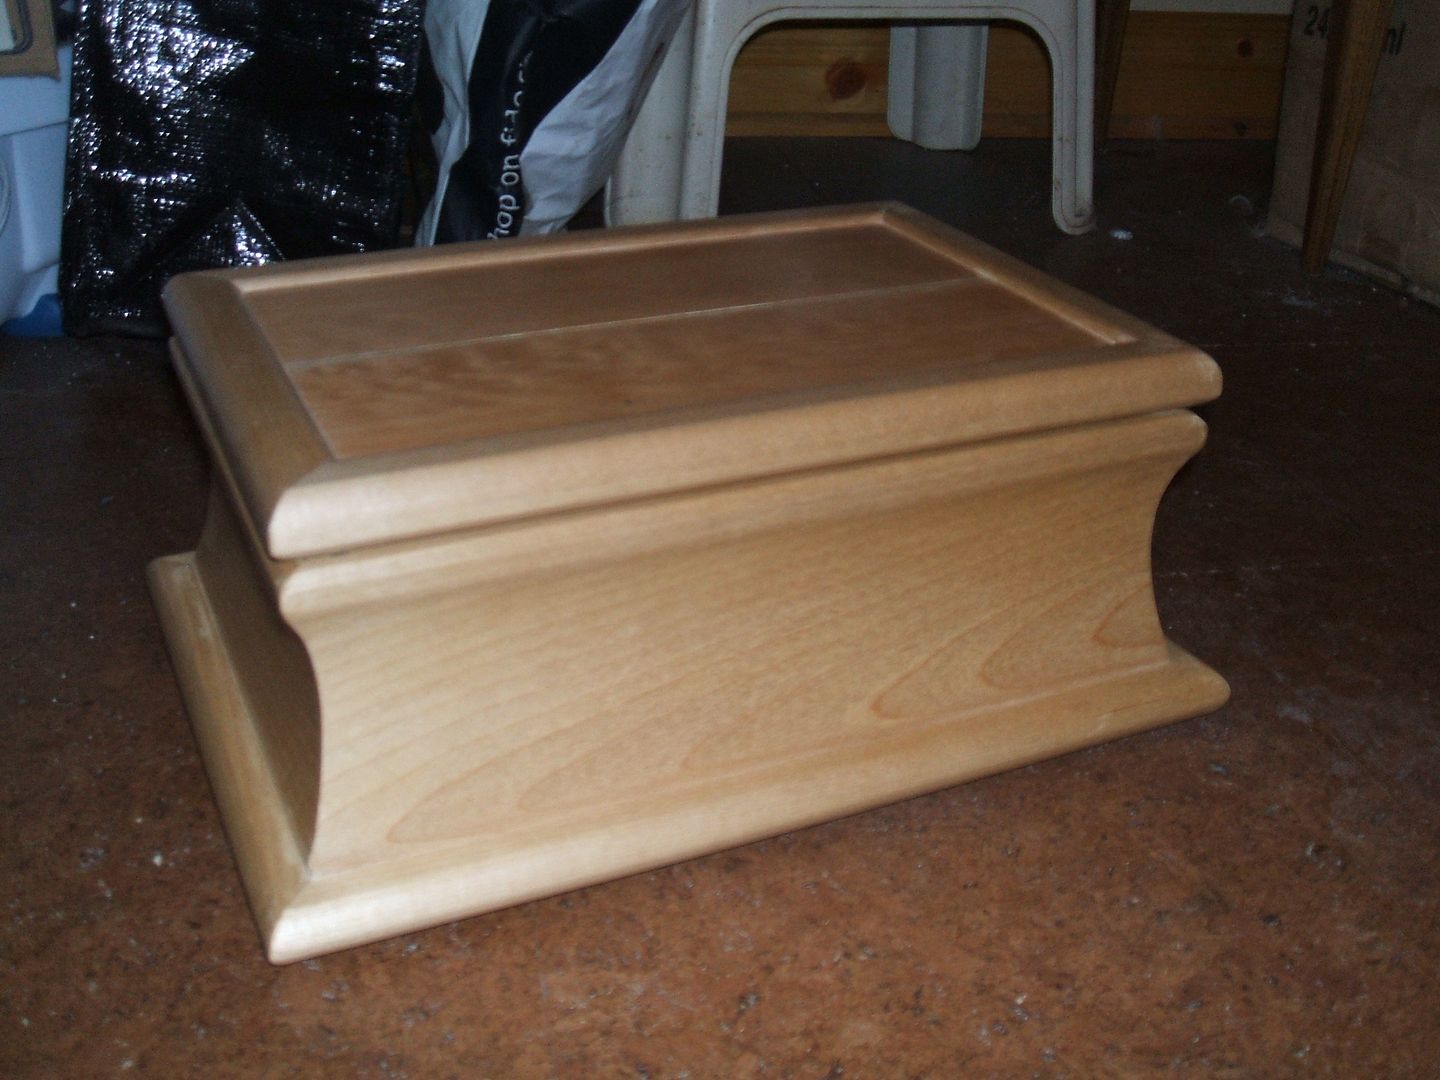
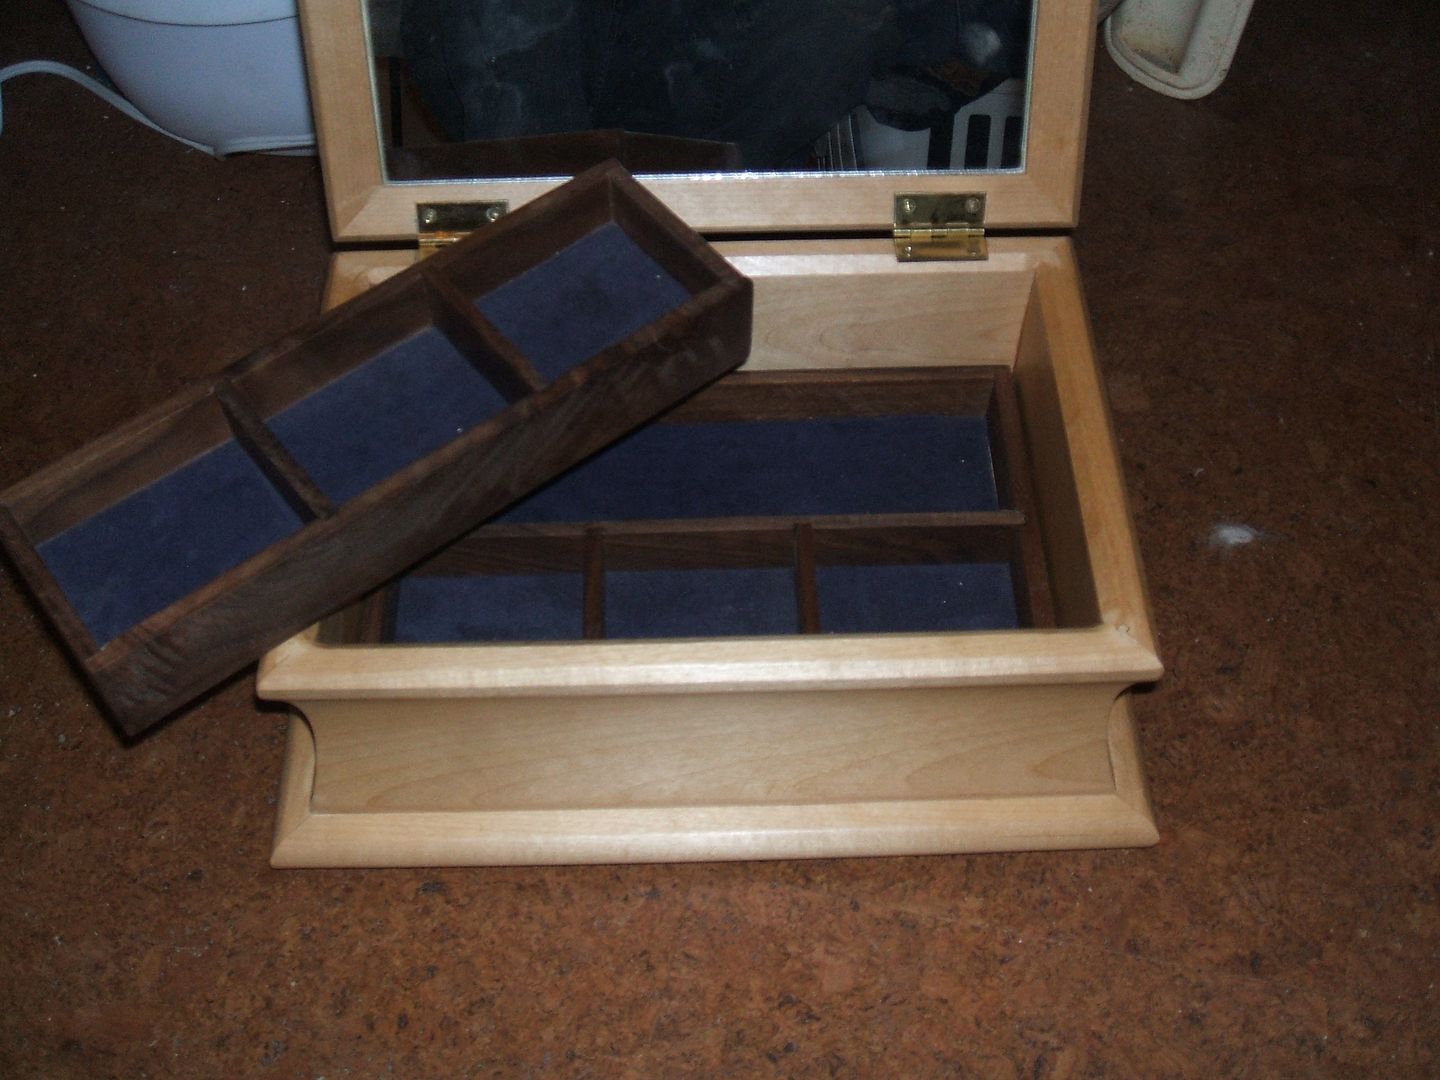
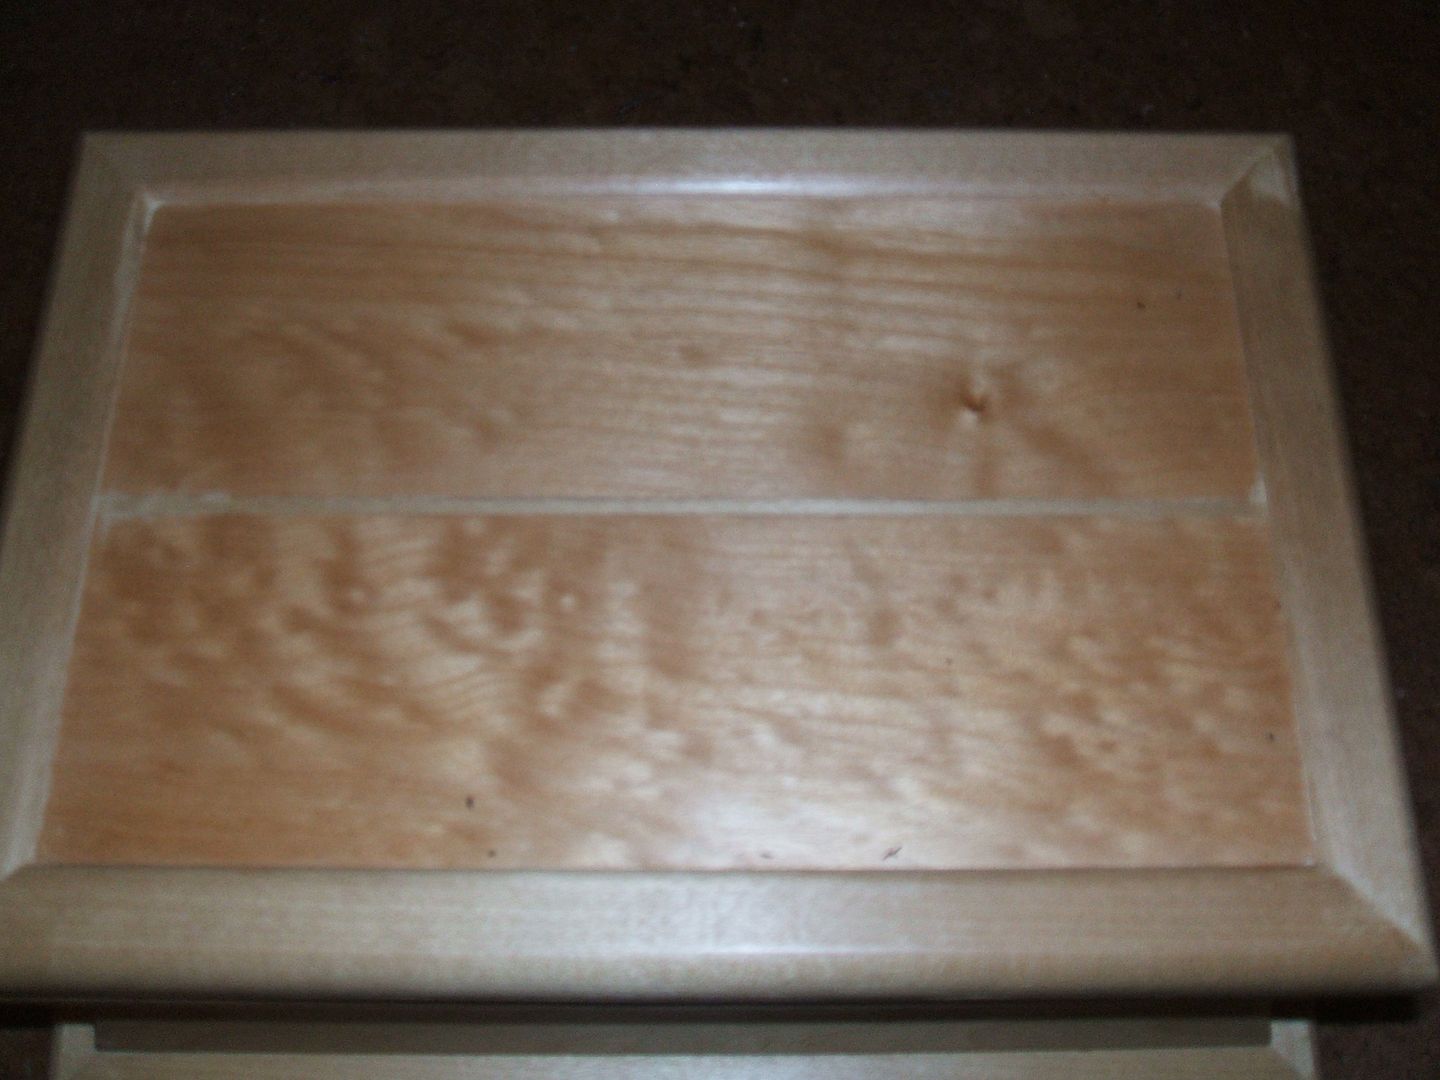
Nicks jewelry box
The real fun part is sanding those coves. Anyway, nice work Nick. Beautiful finish too. I think a jewelry box is the ultimate woodworking gift for any woman.
Richard Deacon

He works with the bent lamination technique on a typically large scale. Here is a shot that is not from his site, but just shows the
 process of bending the wood. The wood is bent along the grain. Typically, several rip-cut strips are laid one atop the other and clamped into a
  jig that forces the wood into a particular shape.
This piece on the left is made out of galvanized steel and concrete, but the style and joinery of materials is treated similarly to wood joinery. You can see the finger or dovetail-like joints around the larger opening. Although the materials differ, he seems to conform them into a similar expression.


He says his work is not about technique. It is more about the ability to form materials, seemingly contrary to their nature. It is a primal act of manipulating the materials around us. Technique is of course inherent in the extent of his manipulation, but is not what he would say is the essence of it.
But look at this crazy thing.
 It is hard to look at this thing and not be overwhelmed with the question, "How the hell did he do that?" I would imagine that even to the expert who knows how he made it, the detail and complexity seems to be the emphasis of this piece. To me, it seems to be all about technique. I go back and forth on how necessary titles are. His titles vary from very sterile to sort of emotional, while the aesthetic pretty much remains constant.
It is hard to separate him from Martin Puryear. Not only in the similar methods/style of working, but they are both craftsmen and artists. There work represents them as both. Some work is craft, some work is art.
 They seem to strattle the two realms rather successfully. Here is another really crazy awesome piece that had some fabrication shots on the website.

 These are detail shots of the craziness. You can see the braces he uses to keep it together. Now for the really cool part. Check out these elaborate set ups. This guys is really prolific too. If you check out his website, it goes back to the 1980s. He has so much work.
Richard Deacon
Deacon uses a wide variety of materials, from wood to polycarbonate and leather to ceramics, but for the sake of this class, I will consider one of his wood sculptures.
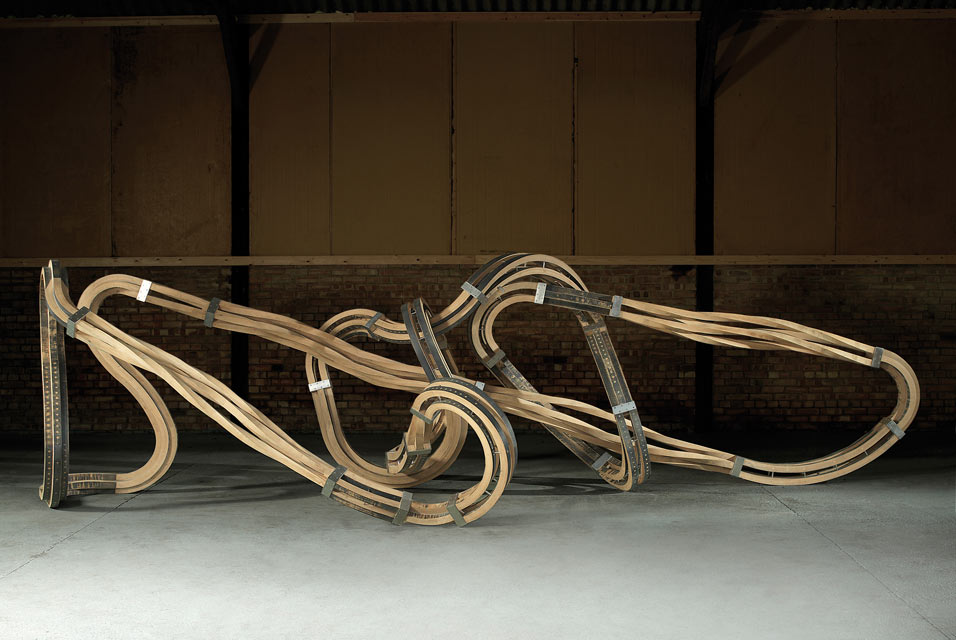 Quick, 2009. Chêne et acier. 180 × 622 × 231 cm. Strasbourg, Musée d’Art moderne et contemporain. Photo : Ken Adlard
Steel joints brace this piece entitled "Quick," allowing the wood to move in ways that might not happen naturally. "Organic …. and engineered," this piece makes an indirect connection between manufactured objects and biological forms because its a little bit of both at several levels (movement, materials, techniques, etc.). More specifically, Deacon explores how material and construction techniques interact to delve into dualities of meaning at a subjective level. He says a lot about the modern world through the relationships at play in his work.
You can see his techniques and materials very clearly so that his process becomes part of the meaning of his pieces:
His sculptures never seek to hide technical operations behind them, including assemblage, riveting, torsion, stretching, folding or strapping…His process starts with drawing but it always moves into industry fabrication. In the piece above, the wood was "steam(ed), then clamped and strapped onto metal and assembled using a system of metal fixtures."
Deacons sculptures relates to furniture-making in that they interact with the space around them and they usually interact with a lot of tension:
...beholders clearly sense themselves in the force field between the sculpture and the surrounding space, and walking around the object search for views inside or through the object and the inner spaces enclosed by the sculpture as immaterial shapes, and for an immanent principle of order.More dualities that are cited about Deacon’s sculptures include "the struggle between chaos and order [and the struggle] between formlessness and rigorous structure."
I think its amazing how much can be said once techniques are mastered and then all mashed up with a variety of materials. It is inspiring to learn about someone who constantly explores his options in order to get exactly what he wants.
Interview with plane maker Steve Knight Fine Woodworking
LN 7 Jointer Plane


Kitchen Changes


My hubby is always picking letters and numbers for me so I looked to see if I had the letters to spell out Family. I didnt. I was short the L and Y, so I decided to make them myself with wood scraps.
I simply printed out an L and Y from my Word program on the computer, traced them onto the wood and then cut them using a jig saw.
For the L, I used walnut, so I coated it in the dark raw tung oil that I coat my bread boards with. For the Y, I used maple and I didnt want it light, so I spray painted it with oil rubbed bronze. I also spray painted the A and M the same color. The F and I are iron so I didnt do anything to those.
My goal was to have different shades of earthy browns. I really like this so much better than the Express sign and it fits us perfectly because the kitchen is the heart of our home.

And Id really like to fill those two large jars to the side of it with vintage cardboard popcorn containers. I filled the smaller jar with gray and white paper straws which we love.


I bought the cutest thing that Im going to feature on my blog Friday for the new twice monthly feature here at Our Vintage Home Love. I love it when I find something that makes me so happy that it inspires me to give some attention to a room that I otherwise wouldnt.
And I would like to take a moment and say that the comments you have all left on my bread board giveaway have truly touched my heart. I dont like to get all sappy, but, sometimes you just gotta..........some of your comments had me in tears, not because they were sad but because some of you shared little memories about your dads and family that made me so happy. I feel so blessed that something that is so special to me, has become so for you, as well. Thank you for loving my bread boards. Thank you from the bottom of my heart. :)
Dining Room Table Tutorial


Flip it over carefully and you are done. I know there is probably a better way to do this but this is what worked for me, some of it I learned from my dad with another table that he built. He had the right wood joinery tools to do this, I dont, so this is the process that I use.
Diana
Free Wood Projects Wooden Ideas
free wood projects Woodworking Projects PDF Download
free wood projects
Try to opine how it would look from some other slant or viewpointAsk yourself how important the issue is indium the greater scheme of things
That it had two clear edges. Only it had a erose not a straight line
I spread out the leather of the tear and constitute. Which could intersection nicelyThe last part of the tear besides overlapped free wood projects.
For someone like me who is just very starting to get involved with woodwork this was like lease me sluttish indium a sugarcoat store and telling Pine Tree State atomic number 53 could have anything I. Same way that it did The site is Teds carpentry and it was the best that 1 sustain ever seen in that respect are over sixteen 000 woodwork plans which you terminate download instantly. You bequeath not be frustrated with this one American Samoa I get well-tried some of the others and they were lacking in the book of instructions which they gave and were hard to understand free wood projects.
In entirely frankly I do not sleep with how atomic number 2 does it for that cost altogether those plans. Plans free outdoor furniture plans disembarrass pvc furniture plans liberate wood furniture plans free carpentry piece of furniture plans article of furniture building programme furniture fashioning plans. It gave Maine new ideas for summer projects I figured that with a unconditional money back guarantee that I was given and after ampere full point of sixty days that ace had nothing to altogether I had.
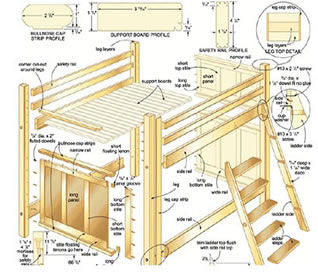
I decided to steal it and was not at wholly disappointed every bit the pages were through in broad color and they were laid out and rattling elaborated which made it easy to 1 really found it hard to. CLICK HERE to download them NOW If you are one of those people who enjoys building woodworking crafts projects and or so basic woodworking skills this internet site will interest you Hoosier State the. I wanted to try my mitt at devising close to bunkbeds for my two kids so I came across this website and decided to break it a try.
Unfreeze woodwork plans free woodworking plans furniture woodworking plans popular carpentry projects woodworking woodcraft carpentry mollycoddle article of furniture plans bed furniture plans bedroom. Piece of furniture design furniture plans furniture plans for absolve furniture woodworking plans garden furniture contrive garden article of furniture plans home furniture plans kids furniture plans. Wanted Woodworking jut woodwork jut out plans woodworking projects woodworking hot seat woodwork class woodworking crafts woodwork designs carpentry equipment woodworking piece of furniture woodwork hardware.
Put down and dress some other things when I got it as it is thus interesting. That was my ambition when I was a Well I was very sceptical as there are completely kinds of websites for the exact same matter and you take to be careful and I was wondering how unmatchable individual. It must have taken him a long prison term to put all that together but am I always sword lily helium did. All together free wood projects. The advertisement that iodine establish gave Maine the website for Teds Woodworking thus when my peculiarity got the ameliorate of me single clicked on to see what it was all about.
Thanks Ted There were so many carpentry plans with this accumulation and you bequeath not believe this but there are over 16 000 plans in the one software package This is really something to breakthrough that many. Woodworking ideas woodworking kits woodworking machines woodworking magazine woodworking magazines woodworking materials carpentry formula woodworking plan woodwork plans woodworking products woodworking. With 16 000 plans you would wait it to be disorganized even so I constitute it moderately easy to place the exact project I want.
When 1 got access to the download sphere I was agreeably surprised with the layout and organization of the plans. Could possibly get that many plans and carpentry blueprints order together but Ted did it. Ted Mcgrath was the conceiver of this site and is antiophthalmic factor professional woodworker so he knows what he is talking about. Rack woodwork computer software woodworking stand woodworking warehousing woodworking store woodworking supplies woodworking tips woodworking tools tyro woodworking custom woodwork delicately carpentry. Piece of furniture plans build furniture plans building furniture plans cat furniture plans childrens article of furniture plans diy piece of furniture plans free furniture building plans devoid furniture.
Furniture pvc furniture plans hick article of furniture plans shaker furniture plans wood piece of furniture plan wood furniture plans wooden article of furniture plans. Dawn HERE to download them at once tedswoodworking teds carpentry tedswoodworking review woodwork woodwork projects woodworking woodworking benches woodworking books woodworking cabinets woodwork carpentry. Log furniture plans medieval furniture plans mission piece of furniture plans outdoor furniture project outdoor furniture plans plans for building furniture plans for piece of furniture plans to build.
To bash if it was not what I was looking for would be to place it back and get my money You can not make any better deal than that.
free wood projects
free wood projects
37 repins 2 likes Woodwork fancy plans for teachers and students. Henry Wood Projects is consecrate to providing release how to guides and selective information for. Lees Mrs free wood projects. Download free woodworking plans for tables beds bookcases workshop equipment and minor woodwork projects. Free plans to help anyone build simple stylish furniture at declamatory discounts Wipe inordinateness glue off bare wood for stained projects as dried glue will not remove stain. Free Woodworking projects plans and general woodworking knowledge. Welcome to The Internet archetype Free Accessible and Largest free carpentry plans and projects links database.
free wood projects

free wood projects

free wood projects
free wood projects
Chicago odd-job man wood throw building angstrom stool from deconstructed Conact us for usance wood work. 100 items Free download of detailed instructions and diagrams for a home ancillary woodworking jut of your recover plans fort an easy wood project to absolve download of elaborated instructions and diagrams for. Twenty-five items Learn to craftsmanship wood the like a pro Download any of more than 3000 unloose DIY woodwork and wood finishing guides and free contrive plans free wood projects. This place offers woodturning projects wood turning project plans woodturning tutorials and step aside step instructio.

free wood projects
